Apple added native call recording to the iPhone with iOS 18.1, and it carried forward into iOS 26. You no longer need a third-party app or a second device — the feature is built directly into the Phone app and saves recordings automatically to the Notes app. Here is exactly how to use it.
What You Need
Before you start, make sure you meet these requirements:
- iPhone XR or newer running iOS 18.1 or later (including iOS 26)
- Call recording must be available in your country or region — it is not supported everywhere
- The feature works on regular cellular calls and FaceTime Audio calls
How to Enable Call Recording
Call recording is turned on by default on supported devices, but you can confirm it is active. Go to Settings > Apps > Phone > Call Recording and make sure the Call Recording toggle is on. If you are on iOS 18 (not 26), the path is Settings > Phone > Call Recording.
How to Record a Call on iPhone
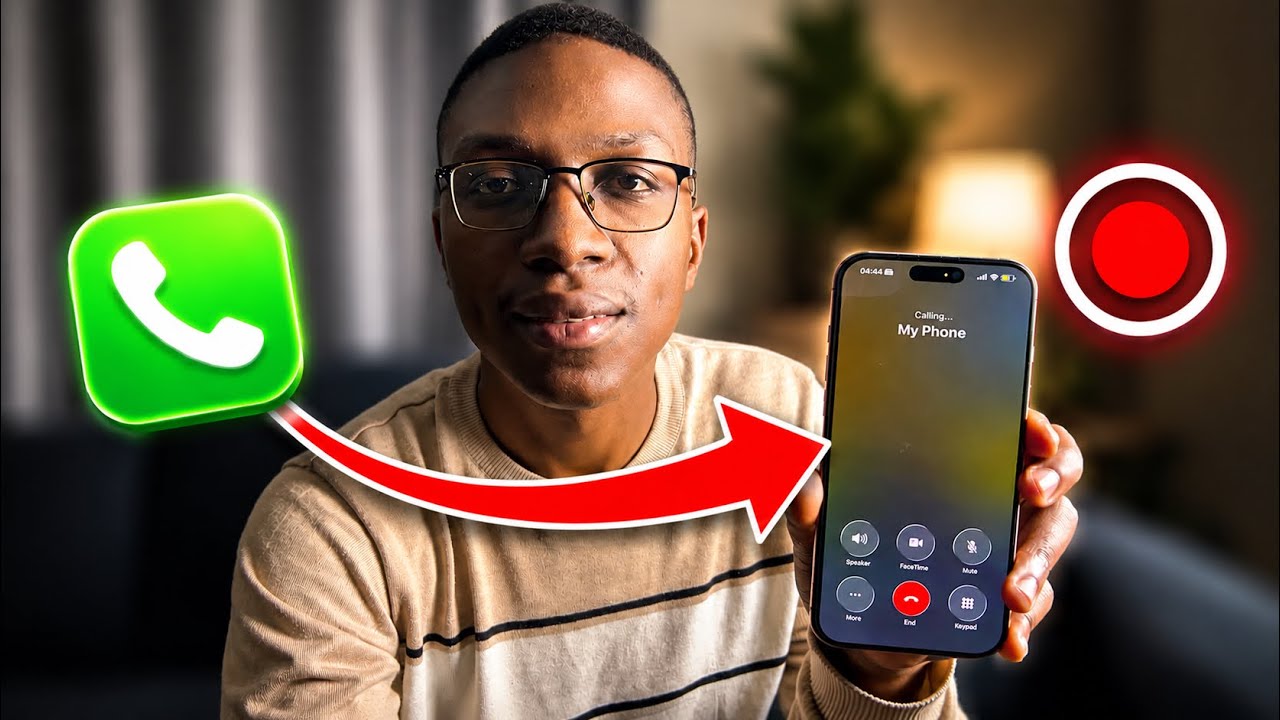
Open the Phone app and make or answer a call. Once the call connects, tap the More button (the three dots ···) on the call screen. Select Call Recording from the menu. Both you and the other person will hear an automated announcement: "This call will be recorded." Recording starts automatically after the 3-second announcement. You can start recording at any point during a call — not just at the beginning.
Note on iOS 26: Apple moved the Call Recording option from the top-left of the call screen into the More (···) menu. If you are on iOS 18 and cannot find it, check the top-left area of the call screen instead.
How to Stop Recording
To stop recording while still on the call, tap the More (···) button again and tap Stop Recording. A short announcement plays to notify the other person that recording has ended. You can also simply hang up — the call recording stops and saves automatically when the call ends.
Where Are Call Recordings Saved?
All recordings are saved automatically to the Notes app. Open Notes and look for a folder called Call Recordings. Each recording is saved as a note titled "Call with [Contact Name] on [Date]". Tap a recording to play it, view the transcript, or read an AI-generated summary (available on iPhone 15 Pro and newer with Apple Intelligence).
How to View the Transcript
Open a call recording note in the Notes app and tap Show Transcript and Summary. Processing may take a moment. Once ready, the transcript is broken down by speaker — you can tap any line to jump to that moment in the audio. Transcription is only available in select languages and regions. If it is not available for you, you will still have the audio recording.
How to Save or Delete a Recording
Inside the Notes app, open the call recording. To keep the audio file, tap the share icon and save it to your Files or share it. To delete a recording, swipe left on it in the Call Recordings folder and tap Delete, or open it and tap the bin icon.
Important: Legal Considerations
Call recording laws differ by country and even by state or province. In some places, both parties must consent to being recorded. In others, only one party (you) needs to consent. Apple's automated announcement at the start of each recording helps establish notice, but it does not substitute for legal consent requirements in your region. Always check local laws before recording calls, especially for professional or sensitive conversations.
Troubleshooting: Call Recording Not Working
- Option not appearing: Make sure you are on iOS 18.1 or later. Go to Settings > General > Software Update to check.
- Feature not available in your region: Call recording is region-locked. If it is unavailable where you live, the option will not appear even on a supported iPhone and iOS version.
- Recording stops unexpectedly: Check your available storage — Settings > General > iPhone Storage. Low storage can interrupt recordings.
- No transcript appearing: Transcription requires a supported language and region. It may also take several minutes to process after the call ends.
Video Guide
Watch the full step-by-step tutorial below: